Cannabis Light Burn vs Deficiency: Signs & Fixes 2026
Learn Cannabis Light Burn vs Deficiency in 2026: spot top-canopy bleaching vs lower-leaf yellowing, fix PPFD, pH, and CO₂. Get pro tips now.
TL;DR
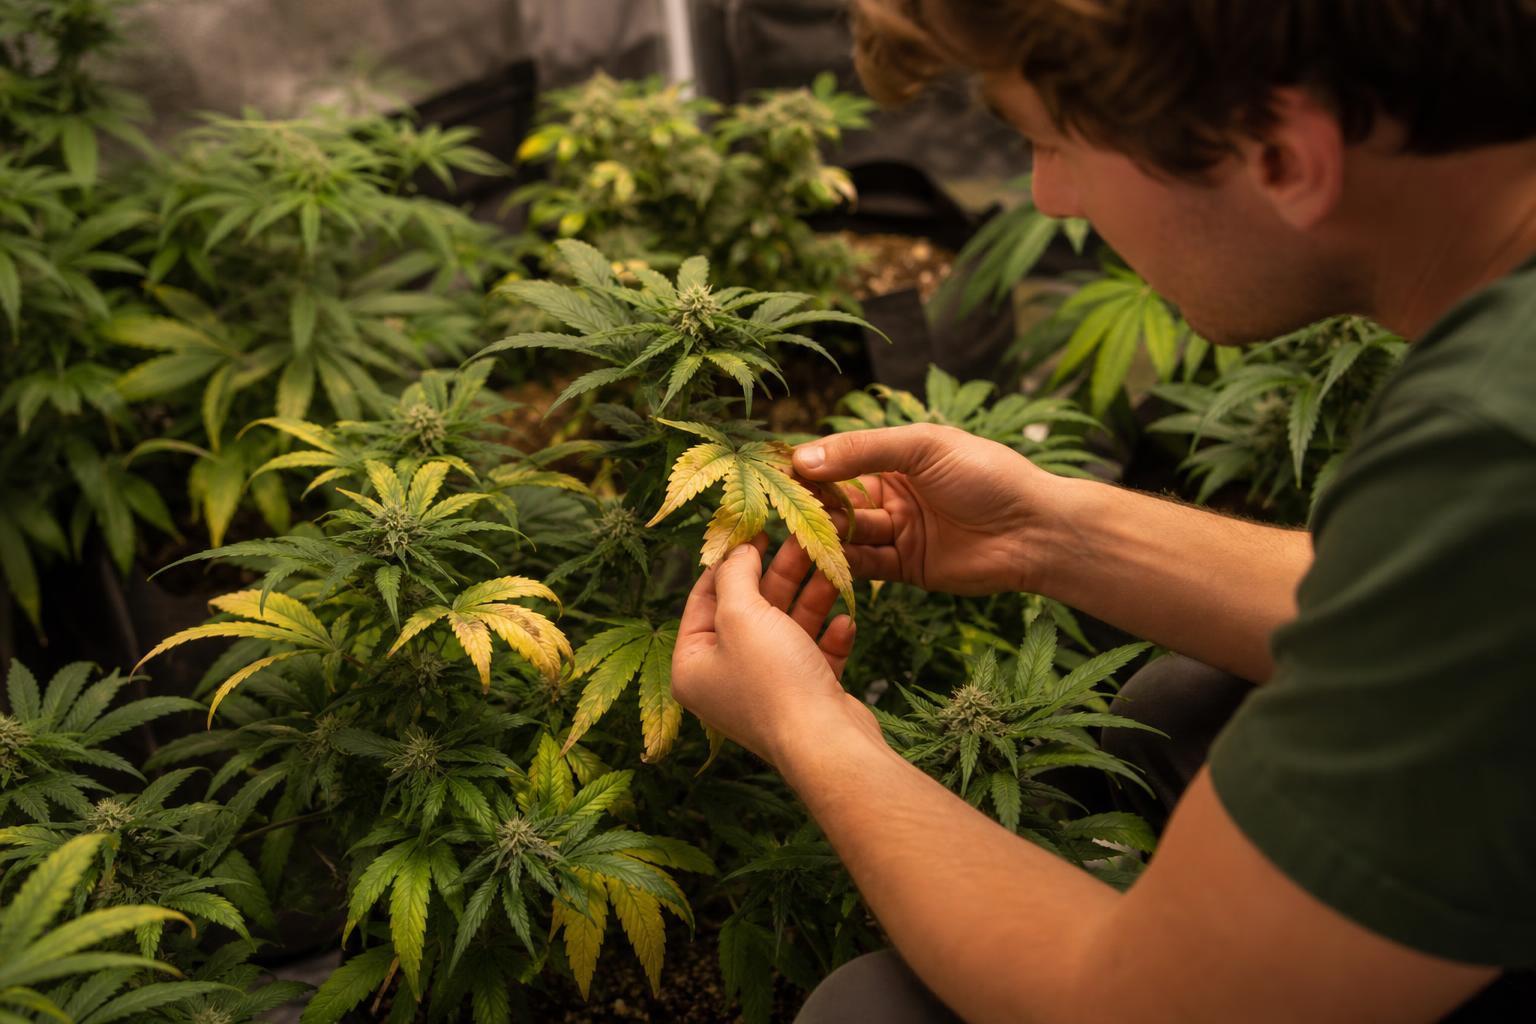
Yellow leaves on a cannabis plant can signal light burn or a nutrient deficiency, and the wrong diagnosis leads to the wrong fix. The fastest way to tell them apart: light burn hits the top leaves closest to the fixture, while most nutrient deficiencies start on lower, older foliage. The one exception is iron deficiency, which also shows on upper growth and is the trickiest look-alike. Measure your PPFD at the canopy before adding nutrients you might not need.
You walk into your grow room and see yellow leaves. The panic is immediate. Is the light too close? Is something missing from the feed? The problem is that cannabis light burn and nutrient deficiency can look almost identical at first glance, and guessing wrong makes everything worse. Dump more nutrients onto a light-burned plant and you compound the stress. Raise your fixture when the real problem is nitrogen starvation, and yields drop further.
This guide gives you a clear diagnostic framework so you can identify the actual problem, fix it, and get back on track. It comes from the perspective of a company that designs and builds the commercial LED fixtures used in cannabis cultivation, which means the science of photon intensity, spectrum, and PPFD is core to what we work on every day.
Talk to a lighting expert if you’re dealing with persistent plant stress and want help dialing in your light levels.
Cannabis Light Burn vs. Nutrient Deficiency: What's the Difference?
Cannabis light burn usually affects the upper leaves closest to the grow light, causing bleaching, pale yellow patches, or upward leaf curling. Nutrient deficiencies more often begin on older, lower leaves, although iron deficiency can cause yellowing in new growth and mimic light damage.
To narrow down the cause, check where the symptoms first appeared, whether the yellowing is uniform or concentrated between the veins, and whether the symptoms started after a change in light intensity. Measure PPFD at canopy level and check root-zone pH and nutrient conditions before changing the feeding schedule. No single visual symptom confirms the diagnosis, and light stress and nutrient problems can occur together.
How to Diagnose Cannabis Light Burn vs. Nutrient Deficiency
Use these checks to narrow down the likely cause before changing light intensity or nutrient levels.
Step 1: Where did the symptoms appear first?
Upper canopy, directly under the fixture: Check for excessive PPFD, uneven light distribution, and recent changes to light height or dimmer settings.
Older leaves near the bottom: Investigate nitrogen or magnesium deficiency, among other possible causes.
Young leaves at the top: Consider iron availability, root-zone pH, and other causes of interveinal chlorosis, while also checking light exposure.
Step 2: What does the yellowing look like?
Bleached or nearly white patches: Excessive light exposure is one possibility, especially when symptoms are concentrated in the brightest areas.
Uniform yellowing across older leaves: Nitrogen deficiency is one possibility.
Yellow tissue between green veins: Consider magnesium deficiency in older leaves or iron-related problems in new growth.
Brown, crispy leaf tips: Check for excessive fertilizer salts and other forms of leaf-tip injury.
Step 3: What changed recently?
Review any increase in light intensity, fixture-height adjustment, change in nutrient concentration, root-zone pH shift, irrigation problem, or environmental change.
Step 4: Verify before treating.
Measure PPFD at canopy height, inspect the distribution of light across the growing area, and check root-zone pH and electrical conductivity (EC) where appropriate. Review the nutrient solution and root health before adding supplements.
Step 5: Correct one likely cause at a time.
If measurements indicate excessive light, reduce intensity or adjust fixture placement. If evidence points to a nutrient or root-zone problem, address that issue instead. Monitor new growth to assess whether the correction is working.
This process narrows the possibilities rather than proving a diagnosis from leaf color alone. Multiple stressors may be present at the same time.
What Is Cannabis Light Burn?
Cannabis light burn happens when photon intensity at the canopy exceeds what the plant’s photosynthetic machinery can process. The technical term is photoinhibition: a light-induced reduction in photosynthetic capacity where Photosystem II (PSII) takes the first and worst hit.
Here is what happens at the cellular level. Chlorophyll molecules absorb light energy and pass it through the photosynthetic chain to produce sugars. When incoming photons overwhelm that chain, excess energy generates reactive oxygen species that damage chlorophyll itself. The green pigment literally bleaches. That is why severely light-burned leaves and buds turn pale yellow or white.
There is an important distinction between light stress and light burn. Light stress is the initial phase where the plant is struggling but hasn’t sustained permanent tissue damage. Plants can recover from light stress if you catch it early. Light burn is the advanced phase where chlorophyll destruction has already occurred, and those affected tissues will not turn green again.
One detail that catches many growers off guard after switching from HPS to LED: modern LEDs deliver intense photon density with far less radiant heat than legacy fixtures. That means a canopy can receive damaging PPFD levels while the room temperature feels perfectly comfortable. Under HPS, heat was the early warning system. Under LEDs, it often isn’t.
Light Burn Symptoms: What to Look For
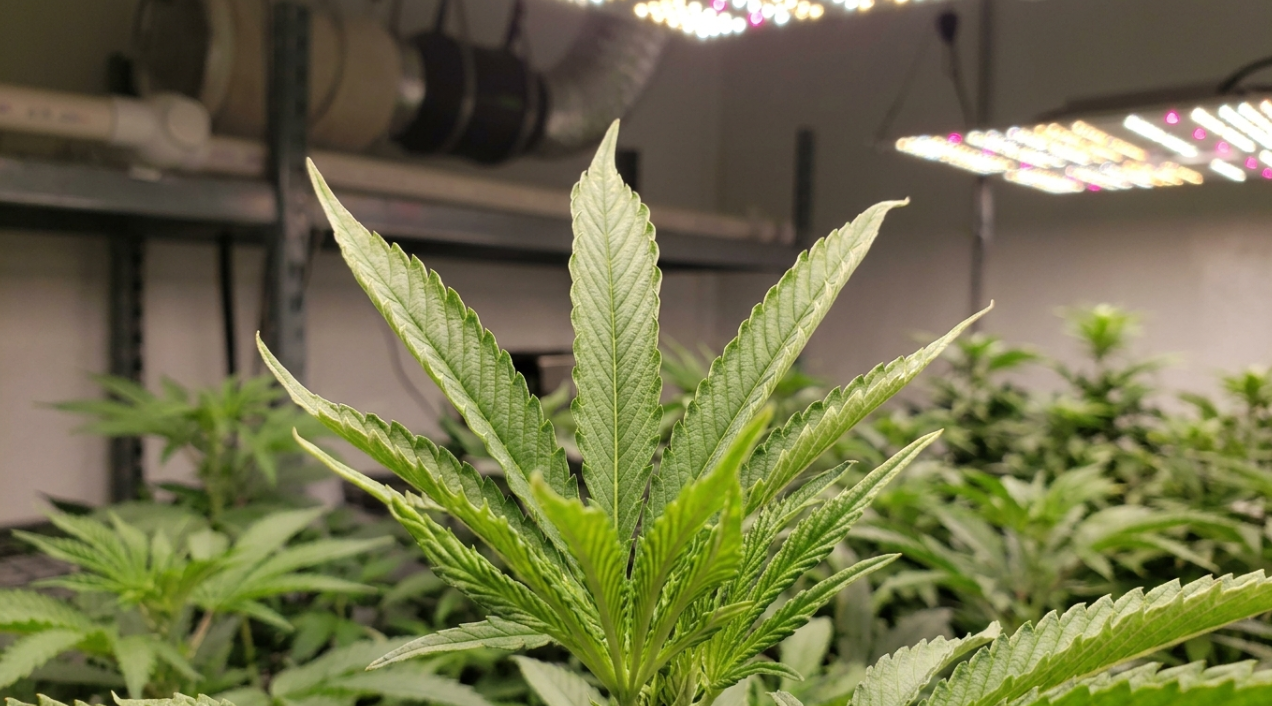
The signature of cannabis light burn is yellowing or bleaching concentrated on the upper canopy, the leaves and bud sites physically closest to the fixture. Here are the specific symptoms:
Upper leaf yellowing or bleaching. The tissue between veins turns pale yellow, progressing to near-white in severe cases. This starts on leaves at the top of the plant and works downward only if the problem persists.
Crispy, stiff leaves. Light-burned leaves feel rigid and papery. They do not wilt. They do not fall off on their own, even when clearly damaged. You would have to physically pluck them.
“Praying” or taco-curling leaves. Leaves may fold upward along the midrib, attempting to reduce the surface area exposed to light. This upward curl, sometimes called tacoing, is an early warning sign before full bleaching sets in.
Bud bleaching. In the flowering stage, buds directly under the fixture can turn white. While bleached buds might look exotic, they have lost significant terpene and cannabinoid content. Bud bleaching typically occurs at sustained PPFD above 1,200 µmol/m²/s without CO₂ supplementation.
Fast onset. The first signs of light stress can appear within 24 to 48 hours after a light change, whether that is lowering a fixture, increasing dimmer output, or removing a screen that was diffusing intensity.
Common Nutrient Deficiencies That Mimic Light Burn
Understanding cannabis light burn vs deficiency requires knowing what each deficiency actually looks like. Several present with yellowing leaves, which is why they get confused.
Nitrogen Deficiency
Nitrogen deficiency is the most common look-alike and, fortunately, the easiest to distinguish. Yellowing starts on the oldest leaves at the bottom of the plant and progresses upward. The yellowing is uniform across the entire leaf surface, not concentrated between veins. Crucially, nitrogen-deficient leaves become soft and fall off on their own. Light-burned leaves do neither.
This bottom-up vs. top-down pattern is the single most reliable diagnostic shortcut in the cannabis light burn vs deficiency comparison.
Magnesium Deficiency
Magnesium deficiency produces interveinal chlorosis: the tissue between leaf veins turns yellow-green while the veins themselves remain darker green. Like nitrogen deficiency, it shows up first on older, lower leaves. Research published in Cannabis Business Times places the magnesium leaf tissue sufficiency range between 0.40% and 0.81%.
Practitioners on cannabis forums have noted that when a plant has a slight magnesium deficiency simultaneously with light burn, the visual presentation changes enough to confuse even experienced growers. The burn “looks a bit different” when both conditions overlap, making the standard diagnostic heuristics less reliable.
Iron Deficiency
Iron deficiency is the trickiest look-alike because it appears on new, upper growth, just like light burn. The yellowing is interveinal (veins stay green while surrounding tissue yellows), and it targets the youngest leaves first.
The key difference: iron deficiency develops gradually over days or weeks and responds to nutrient correction. Light burn appears rapidly after a change in light intensity and does not improve when you add iron to the feed. Nearly every ranking guide online focuses on nitrogen as the main comparison point, but iron deficiency is the one that actually fools people because of its location on the plant.
Nutrient Lockout
Sometimes the problem is not a missing nutrient but a blocked one. Nutrient lockout, often caused by pH imbalance, produces multiple deficiency symptoms simultaneously even though the nutrient solution contains everything the plant needs. As GrowWeedEasy points out, this pattern is especially common when symptoms appear right as buds start forming on a previously healthy plant.
What makes lockout particularly relevant to the light burn conversation is that excessive light intensity can actually cause it. More on that below.
How to Confirm Light Burn or a Nutrient Deficiency
Leaf symptoms are useful clues, but they do not always reveal the underlying cause. Before changing your lighting or nutrient program, check the growing environment systematically.
1. Measure PPFD at canopy level
Use a suitable quantum sensor or PAR meter to measure photosynthetic photon flux density (PPFD) across several points at canopy height. Record the readings beneath the center of the fixture, near the edges, and wherever symptoms are most pronounced.
If damaged leaves correspond to areas receiving substantially more light, excessive intensity or uneven light distribution becomes a stronger possibility.
2. Check root-zone pH and electrical conductivity
An unsuitable root-zone pH can reduce the availability of certain nutrients even when they are present in the nutrient solution. Electrical conductivity (EC) can help indicate the concentration of dissolved salts, although it does not identify individual nutrients.
Interpret both measurements according to your growing medium and irrigation system.
3. Review recent environmental changes
Consider whether symptoms appeared after increasing light intensity, changing fixture height, altering the nutrient recipe, modifying irrigation, or experiencing temperature or humidity changes.
A clear relationship between a recent change and the onset of symptoms can help narrow down the cause.
4. Compare new and older growth
Look at the distribution of symptoms across the plant. Yellowing on older leaves may suggest a deficiency involving a mobile nutrient, while interveinal chlorosis on new leaves can point toward an issue affecting iron availability. Upper-canopy bleaching following a lighting adjustment raises concern about excessive light exposure.
These patterns overlap, so use them alongside environmental measurements.
5. Consider laboratory testing when symptoms persist
If symptoms continue despite correcting an identified environmental problem, consider professional plant tissue analysis or nutrient-solution testing. Laboratory results can help distinguish nutrient shortages from uptake problems and other forms of plant stress.
Avoid adding multiple supplements at once. Making several changes simultaneously can obscure the cause and introduce additional problems.
Cannabis Light Burn vs. Nutrient Deficiency: Symptom Comparison
Use the following table to compare common patterns. These are diagnostic clues, not definitive tests; more than one issue can occur simultaneously.
Condition | Where symptoms often begin | Typical appearance | What to check next |
|---|---|---|---|
Light burn or excessive light stress | Most exposed upper leaves | Bleaching, pale patches, or leaf-edge curling in high-light areas | Canopy PPFD, light uniformity, and recent fixture adjustments |
Nitrogen deficiency | Older, lower leaves | Relatively uniform yellowing across leaves | Nutrient supply, root health, and root-zone pH |
Magnesium deficiency | Often older leaves initially | Interveinal yellowing, with greener veins | Magnesium availability, root-zone pH, and nutrient balance |
Iron deficiency | Young, developing leaves | Interveinal chlorosis on new growth | Root-zone pH, root health, and iron availability |
Nutrient excess or fertilizer injury | Often leaf tips and margins | Brown or scorched tips, sometimes with dark green foliage | Fertilizer concentration, irrigation, and root-zone EC |
Heat stress | Exposed foliage, especially in hot areas | Curling, wilting, or other heat-related damage | Canopy and leaf temperature, airflow, and HVAC performance |
Nutrient lockout or root-zone dysfunction | Variable; several leaf ages may be affected | Multiple deficiency-like patterns or stalled growth | Root health, pH, EC, irrigation, and nutrient availability |
Important: Leaf position is a useful starting point, but it is not conclusive. Deficiency symptoms can vary with cultivar, growth stage, severity, and growing system. Confirm the likely cause with environmental measurements and root-zone checks before making major changes.
Can Excessive Light Cause Nutrient Deficiency Symptoms?
Excessive light and nutrient-related stress can occur together, making cannabis light burn harder to distinguish from a nutrient deficiency. However, yellowing after a lighting change does not automatically mean that the plant has developed a true nutrient deficiency.
Light intensity affects photosynthesis, while nutrient availability, root function, temperature, humidity, irrigation, and CO₂ influence how well a plant can use the available light. When these factors become unbalanced, plants may develop overlapping symptoms.
For example, increasing light intensity can reveal an existing limitation in nutrient supply or root function. Changes in temperature and transpiration can also affect nutrient transport. Meanwhile, an unsuitable root-zone pH can interfere with nutrient availability even when the nutrient solution contains the required elements.
This is why adding magnesium, calcium, or iron without confirming the cause may not resolve the problem.
A better diagnostic approach is to:
Measure PPFD and inspect the distribution of light across the canopy.
Check root-zone pH, EC, irrigation, and root health.
Review the nutrient recipe and recent environmental changes.
Adjust the factor most strongly supported by the evidence.
Monitor new growth to evaluate the response.
Treat light intensity and nutrient management as connected parts of the growing environment, but do not assume that one automatically caused the other.
This photoinhibition-to-lockout chain is a critical concept. The fix is not just adding more calcium or magnesium. It is adjusting light intensity to match what the overall system (nutrients, CO₂, VPD, root health) can support. Understanding VPD management is part of this puzzle, since transpiration rate directly affects how quickly nutrients move from roots to leaves.
For growers running high-intensity LEDs, adjusting your nutrient strategy for LED lighting is not optional. It is the difference between unlocking the yield potential of modern fixtures and creating chronic stress.
PPFD Targets: How Much Light Is Too Much?
There is no single PPFD threshold that guarantees cannabis plants will avoid light stress. The appropriate intensity depends on growth stage, cultivar, photoperiod, daily light integral (DLI), CO₂ availability, temperature, humidity, nutrition, root health, and how quickly plants have acclimated to the light.
Use PPFD measurements as a starting point, not as a universal safe-or-unsafe cutoff. Measure across the canopy rather than only directly beneath the center of the fixture, since localized hot spots can expose some leaves to much higher intensities than others.
Growth stage | Practical starting approach | What to monitor |
|---|---|---|
Seedlings and clones | Use conservative light intensity appropriate to the plant's development | Leaf color, growth, wilting, and signs of stress |
Vegetative growth | Increase intensity gradually as plants develop | New growth, canopy uniformity, and environmental conditions |
Flowering | Set intensity according to cultivar response and the complete growing environment | Bleaching, leaf damage, canopy PPFD, and flower development |
High-intensity production | Increase light only when CO₂, temperature, nutrition, irrigation, and root health support the added demand | PPFD distribution, DLI, plant response, and production outcomes |
For a numerical target, consult research relevant to your cultivar and production conditions, along with your fixture manufacturer's guidance. Record the initial PPFD and increase intensity progressively rather than assuming that a level tolerated by one crop will be appropriate for another.
PPFD measures instantaneous photosynthetic photon flux at a location. DLI measures the total photosynthetically active photons received over a day. Both matter when evaluating the lighting environment.
A University of Guelph study (Rodriguez-Morrison et al., 2021) found that dry inflorescence yield increased linearly with canopy-level PPFD up to 1,800 µmol/m²/s. But that result came with CO₂ supplementation. Under ambient CO₂, cannabis starts becoming CO₂-limited around 500 µmol PPFD, with significant limitation between 700 and 1,000 µmol.
This is a crucial practical point. Many cases that growers diagnose as “light burn” in high-PPFD rooms are actually CO₂-limited photosynthesis causing secondary stress symptoms. The photosynthetic chain backs up because there is not enough CO₂ to process the light energy, creating the same downstream damage. If you want to understand how CO₂ supplementation interacts with LED lighting decisions, this guide on CO₂ in CEA breaks it down.
Acclimation matters. After any change in light intensity (new fixtures, height adjustment, dimmer change), ramp intensity over five to seven days. Plants that were thriving at 600 µmol can show stress if jumped to 900 overnight, even though 900 is within the safe range for flowering.
For precise PPFD measurement methods and how to map your canopy, a PAR meter is the first diagnostic tool to reach for, not a tape measure.
How to Fix Cannabis Light Burn
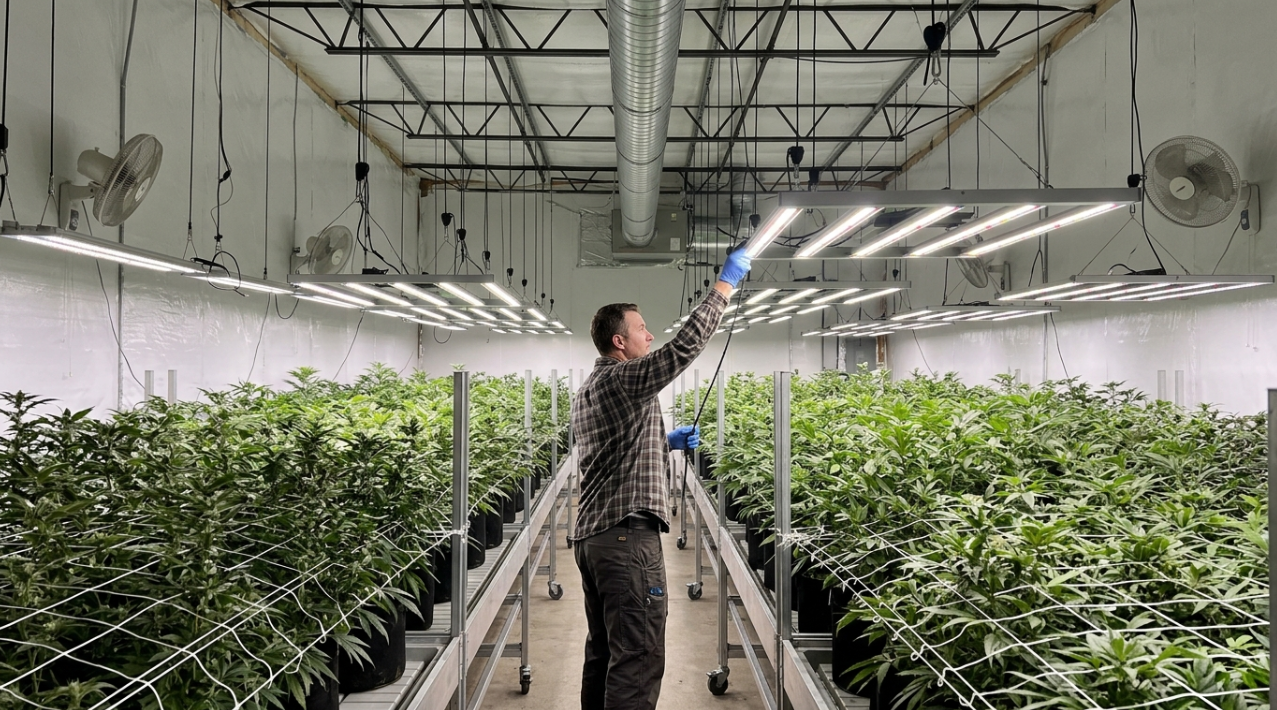
Once you have confirmed that the problem is light burn rather than a nutrient issue, the fix involves reducing photon intensity at the canopy. Here is a step-by-step approach:
1. Measure PPFD. Do not guess. Use a PAR meter at canopy height, checking multiple points to find hot spots. “Raise the light” is lazy advice if you do not know what intensity you are starting from or targeting.
2. Dim or raise the fixture. If your PPFD is above the safe range for the current growth stage and CO₂ level, reduce it. Dimming is often better than raising because it maintains uniformity across the canopy.
3. Check for hot spots. Uneven PPFD distribution means some plants get burned while others are fine. This is a fixture design and layout issue, not just a height issue.
4. Improve air circulation. Heat stress and light stress compound each other. Even under LEDs, stagnant air at the canopy creates microclimates that worsen damage. For context on managing heat from grow lights, proper HVAC sizing and airflow design are part of the solution.
5. Assess CO₂ levels. If you are running PPFD above 600 µmol without CO₂ supplementation, the light might not be “too much” in absolute terms, but it is too much relative to available CO₂. Adding supplemental CO₂ can be the fix instead of reducing light.
6. Accept the damage, watch new growth. Light-burned tissue will not recover. The indicator that your fix is working is healthy new growth. If new leaves continue showing symptoms after a light adjustment, reconsider the diagnosis and check pH and nutrients.
How Fixture Design Affects Light Burn Risk
Not all grow lights create equal light burn risk, even at the same total output. How a fixture distributes photons matters enormously.
PPFD uniformity. A fixture that delivers tight uniformity across the canopy (for example, ±5% design-to-install variance) reduces the chance of hot spots that burn some plants while leaving others underlit. When uniformity is poor, you face a bad choice: set intensity high enough for the dim edges and burn the center, or protect the center and starve the edges.
Full-spectrum white light vs. narrow-spectrum. Full-spectrum white LEDs distribute energy across the photosynthetically active range, rather than concentrating it in narrow red and blue peaks. This affects not just plant morphology and spectrum’s impact on growth but also how the photosynthetic apparatus handles the energy load.
Under-canopy lighting as a light burn prevention strategy. Rather than pushing all your daily light integral (DLI) from overhead and risking upper-canopy burn, distributing some of that light below the canopy addresses both problems at once. The top canopy gets relief from extreme intensity, and the lower canopy (which typically receives only 10 to 20% of overhead light) gets the photons it needs for quality flower development. Thrive Agritech’s Boost XE under-canopy bar is designed specifically for this, adding DLI where it is needed without overloading the tops.
Remote power architecture. Moving LED drivers out of the grow space reduces heat at the canopy level. Less heat means less compounding of thermal and photon stress, giving you a wider safe operating window for light intensity. This is the principle behind OptiDrive, which relocates the entire driver layer outside the grow room.
On the THCFarmer forums, one grower shared photos showing severe upper-canopy yellowing that had initially been diagnosed as potassium deficiency. The community corrected the diagnosis to light burn, noting that the upper leaves were “really showing it and even turning purple from trying to protect itself from the LIGHT.” This kind of community-level misdiagnosis is common and underscores why understanding the interaction between fixture design, intensity, and plant response matters.
Light Burn vs. Heat Stress: One More Distinction
Since the two often get lumped together, it is worth noting that heat stress and light burn are separate conditions that frequently co-occur.
Heat stress shows as leaf curling (edges curl upward or downward), foxtailing during flower (elongated, airy bud structures), and wilting. It is driven by ambient temperature, not directly by photon count. Under HPS fixtures, heat stress and light burn were almost inseparable because the fixtures produced both high intensity and high radiant heat.
Under modern LEDs, you can have light burn without heat stress (too many photons, comfortable temperature) or heat stress without light burn (poor HVAC, moderate light levels). Recognizing them as separate variables helps you target the right fix.
Frequently Asked Questions
Can LED lights burn cannabis plants?
Yes. LEDs produce less heat than HPS fixtures but can deliver more concentrated photon density. Cannabis light burn is increasingly common as growers upgrade to high-power LEDs precisely because the room feels cool while the canopy receives excessive PPFD.
What PPFD causes light burn on cannabis?
Under ambient CO₂ (~400 ppm), light burn risk increases above 1,000 µmol/m²/s. With CO₂ supplementation at 1,200 to 1,500 ppm, growers can safely push 1,200 to 1,500 µmol. Bud bleaching typically occurs at sustained levels above 1,200 µmol without supplemental CO₂.
How do I tell the difference between cannabis light burn and nitrogen deficiency?
Location is the fastest indicator. Light burn affects the top leaves closest to the fixture. Nitrogen deficiency starts on the bottom, oldest leaves. Light-burned leaves are crispy and will not fall off. Nitrogen-deficient leaves turn soft and drop on their own.
Can light burn cause nutrient deficiency symptoms?
Yes. Excessive light intensity drives higher photosynthetic demand for calcium, magnesium, and iron. If the nutrient supply cannot keep pace, genuine deficiency symptoms appear at the leaf level, even though the root cause is too much light. This photoinhibition-to-lockout chain is one of the most underrecognized dynamics in cannabis cultivation.
Does light burn reduce THC?
Bud bleaching from sustained excessive PPFD reduces both cannabinoid and terpene content. The white, bleached buds that result from severe light burn look striking but test lower in potency.
Can you reverse light burn on cannabis?
Damaged tissue will not recover. The chlorophyll is destroyed. However, the plant will produce healthy new growth once light intensity is corrected. Watch the newest leaves as your confirmation that the fix is working.
How far should grow lights be from cannabis?
Distance is a poor proxy for intensity because different fixtures produce different PPFD at the same height. The correct approach is to measure PPFD at the canopy with a PAR meter and adjust until you hit the target range for your growth stage and CO₂ level. Consult your fixture manufacturer’s recommendations as a starting point, then verify with measurement.
What is the difference between light burn and nutrient burn?
Nutrient burn shows as brown, crispy tips on leaves at all levels of the plant, usually with an unnaturally dark green leaf body. Light burn produces bleached, pale yellow-white tissue concentrated on top leaves closest to the fixture. Nutrient burn is caused by excess fertilizer; light burn is caused by excess photon intensity.
Diagnosing cannabis light burn vs deficiency correctly the first time saves weeks of compounding mistakes. Measure your PPFD, check your pH, and read the plant from the top down. If you are designing or upgrading a grow room and want to get light levels right from the start, schedule a consultation with a lighting specialist.